Mastering Geometry: Reflection Worksheet Tips and Tricks
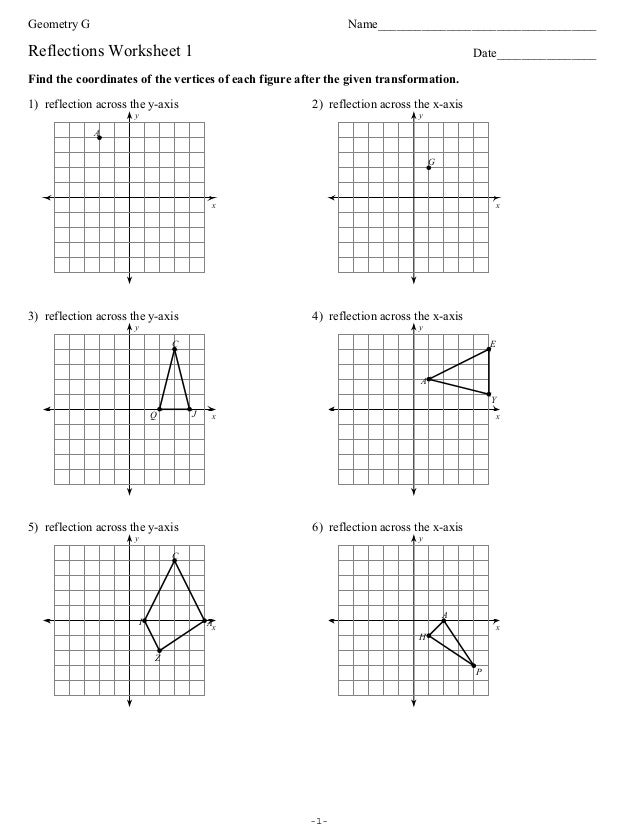
Reflecting shapes across lines can be both a fascinating exercise in visual symmetry and a challenging problem in geometry. Reflection is not just about flipping an object over an axis; it's about understanding spatial relationships, recognizing patterns, and applying geometric transformations accurately. Whether you're a student looking to master this concept or an educator aiming to teach it effectively, this blog post offers tips, tricks, and comprehensive strategies to conquer reflection in geometry.
Understanding Reflection Basics
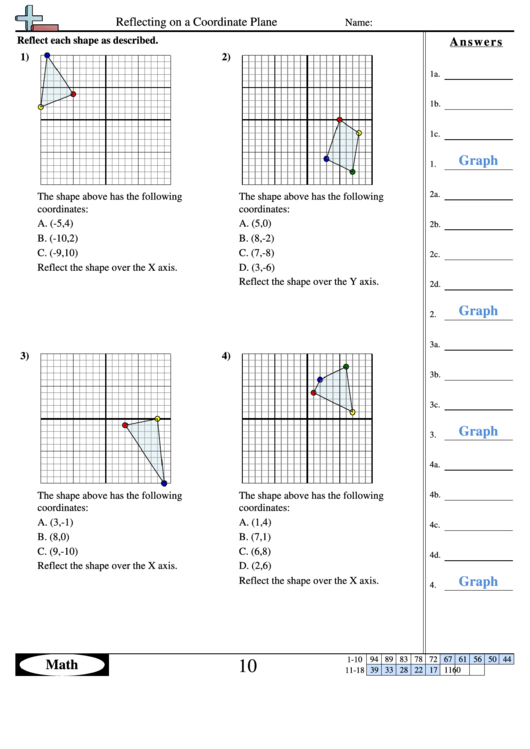
Reflection in geometry involves flipping a figure over a line to create its mirror image. Here are some fundamental principles:
- Perpendicularity: The line of reflection is always perpendicular to the segment joining any point on the original shape to its reflection.
- Equidistant: Every point in the original shape and its reflected counterpart will be equidistant from the line of reflection.
- Mirror Symmetry: The resulting figure after reflection is congruent to the original, only flipped.
Setting Up for Success
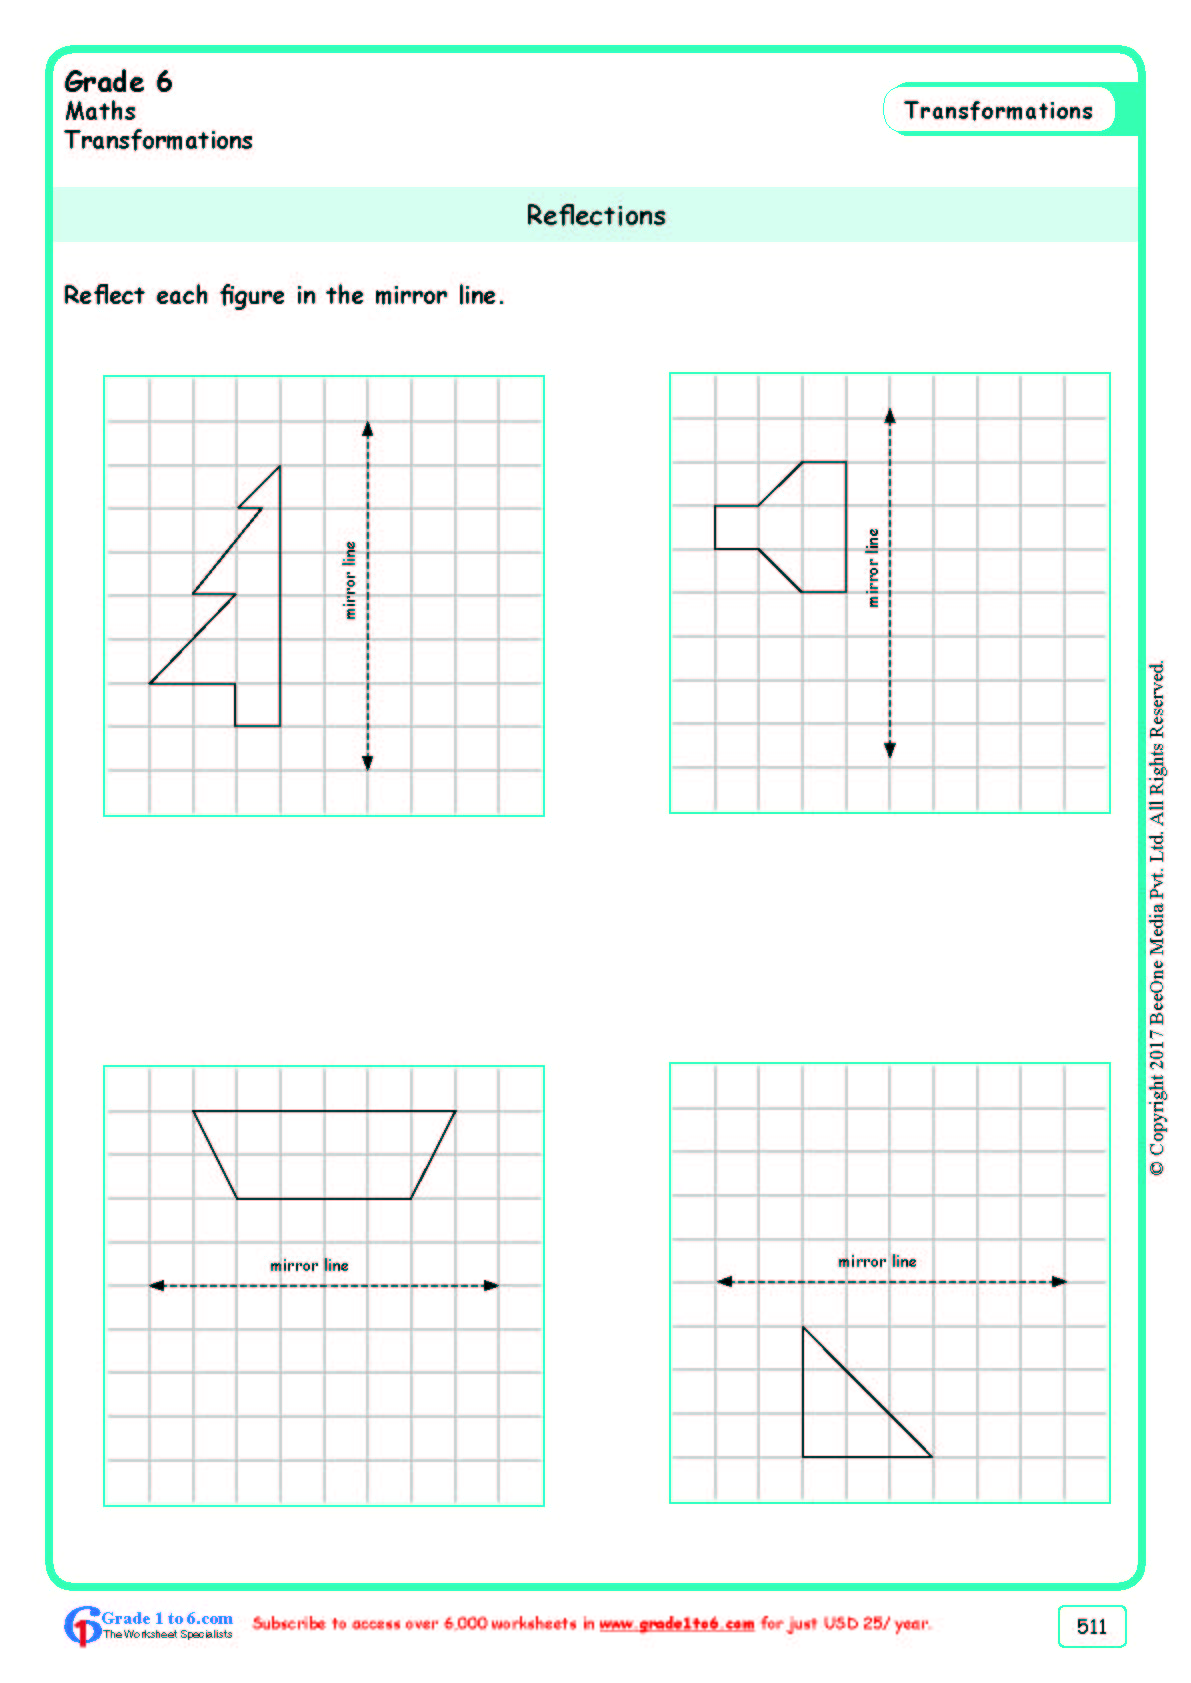
Before diving into reflection exercises, here’s how to prepare:
- Tools: Have a ruler, protractor, and pencil at hand. A reflection worksheet might not provide these tools digitally, but knowing how to use them is key.
- Grids: If you’re working on paper or a worksheet, a grid helps maintain symmetry and proportion. Graph paper is ideal for this.
- Understanding Terms: Know terms like ‘pre-image,’ ‘image,’ ‘line of reflection,’ and ‘symmetry’.
Step-by-Step Guide to Reflect Shapes

1. Identify the Line of Reflection

Start by clearly marking the line of reflection. This could be:
- Horizontal line
- Vertical line
- Diagonal line
Make sure your line is straight and clearly visible.
2. Find Corresponding Points

For each point in the original shape:
- Draw a perpendicular from the point to the line of reflection.
- Extend this line an equal distance beyond the line of reflection to find the reflected point.
Repeat for every vertex of the shape. For a straight line on a plane, this process maintains the properties of reflection.
3. Connect the Dots

Once you have all the corresponding points plotted:
- Join these points to form the reflected shape.
- Ensure to keep the lines straight and maintain angles.
4. Verify Your Work
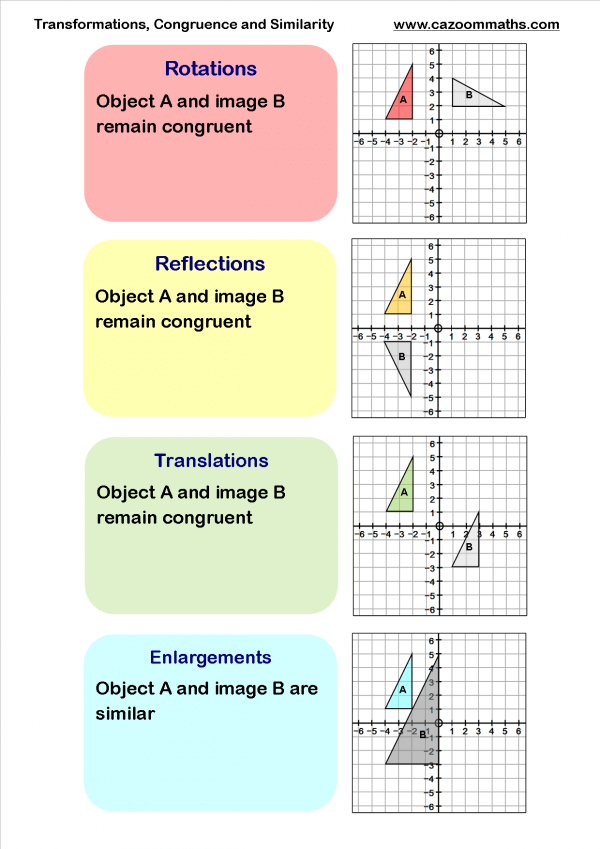
Check your work by:
- Measuring distances from the original shape to the line of reflection and from the reflection to the line.
- Ensuring that lines joining corresponding points are perpendicular to the line of reflection.
- Confirming the reflected shape looks like a mirror image of the original.
💡 Note: Ensure your line of reflection is clear. Use a ruler or graph paper to make accurate perpendiculars.
Practical Tips for Reflection Worksheets

Using Grids for Precision
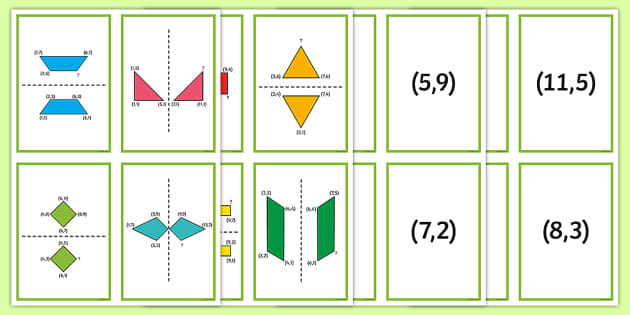
- If using a grid, count the squares to make sure your reflected shape is at the correct distance.
- Use the grid lines to align the shape precisely to the reflection line.
Dealing with Complex Shapes
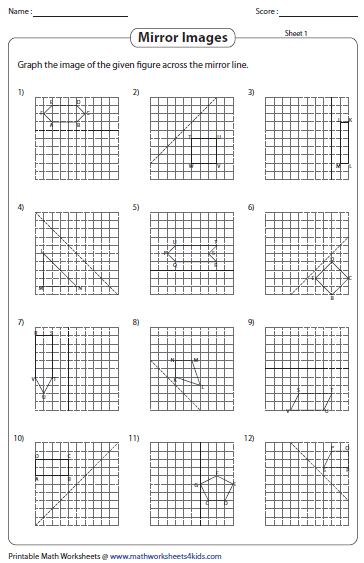
For intricate shapes:
- Break down the shape into simpler components (e.g., triangles or quadrilaterals) to reflect separately.
- Construct the reflection step-by-step, ensuring each part is correctly reflected before moving to the next.
Error Checking
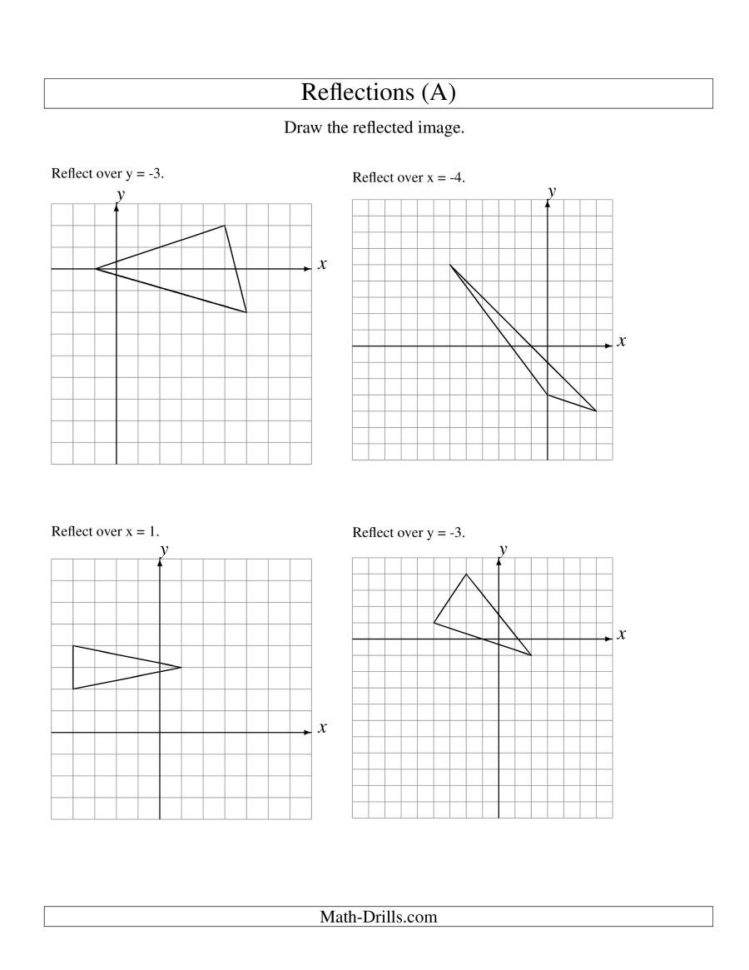
Common mistakes include:
- Not maintaining equal distances from the line of reflection.
- Misalignment due to not finding perpendiculars accurately.
- Neglecting to keep angles consistent.
🔍 Note: Always verify the length of segments in the original shape with their counterparts in the reflected shape.
Advanced Reflection Techniques

Reflections over Multiple Axes

When reflecting over more than one line:
- Reflect over the first line.
- Take the resulting shape as the new pre-image.
- Reflect this new shape over the second line.
It’s akin to composing multiple reflections to get the final image.
Symmetry and Tessellations

Reflection also helps in understanding symmetry:
- Line Symmetry: Identify shapes with mirror symmetry or reflect shapes to form symmetrical patterns.
- Rotational Symmetry: By reflecting multiple times, you can explore rotational symmetry properties.
- Tessellations: Reflective transformations can aid in constructing tessellations by ensuring adjacent pieces fit seamlessly.
In the closing of our journey through the world of reflection in geometry, it’s clear that mastering this concept isn’t just about drawing mirrored images. It involves understanding spatial relationships, symmetry, and precision. The steps outlined provide a structured approach to tackling reflection exercises, ensuring accuracy and comprehension. The use of grids, precise tools, and breaking down complex shapes into simpler components are practical strategies that enhance the learning process. Reflecting over multiple axes and exploring symmetry and tessellations further enrich one’s understanding of geometry. These tips, tricks, and insights not only improve one’s ability to work with reflections on worksheets but also deepen the appreciation for symmetry in everyday life and design.
What is the difference between a reflection and a rotation?

+
Reflection involves flipping a shape over a line to create its mirror image, while rotation turns a shape around a fixed point without changing its shape or size.
How do I know if a shape has line symmetry?
+A shape has line symmetry if it can be divided into two equal halves that are mirror images of each other along a line (axis of symmetry).
Can I reflect a shape over a curved line?
+Yes, but it’s more complex. You would need to consider the normal at each point on the curve to ensure accurate reflection.
Related Terms:
- Reflection geometry worksheet pdf
- Reflection geometry worksheet with answers
- Reflection Worksheet PDF with answers
- Reflections practice Worksheet PDF
- Reflection worksheet with answers


