Master Physical Inventory with QuickBooks Worksheets
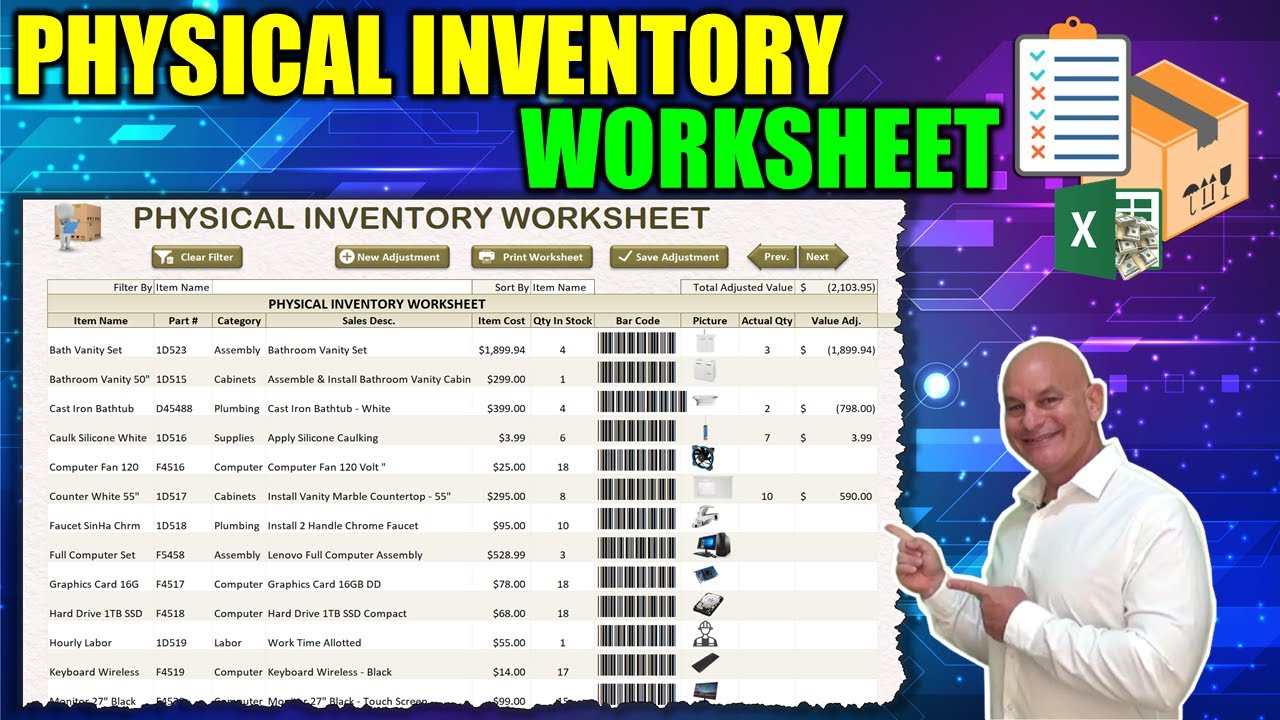
The world of accounting and inventory management often seems like a labyrinth to small business owners. However, tools like QuickBooks have revolutionized how businesses manage their inventory with precision. Today, we'll delve deep into how you can master physical inventory with QuickBooks worksheets.
Understanding the Role of Inventory Worksheets

Before we jump into the specifics of QuickBooks, let’s understand why inventory worksheets are crucial. These worksheets provide a structured framework to:
- Track inventory levels accurately.
- Identify stock discrepancies swiftly.
- Streamline physical inventory counts.
Benefits of Using QuickBooks for Physical Inventory
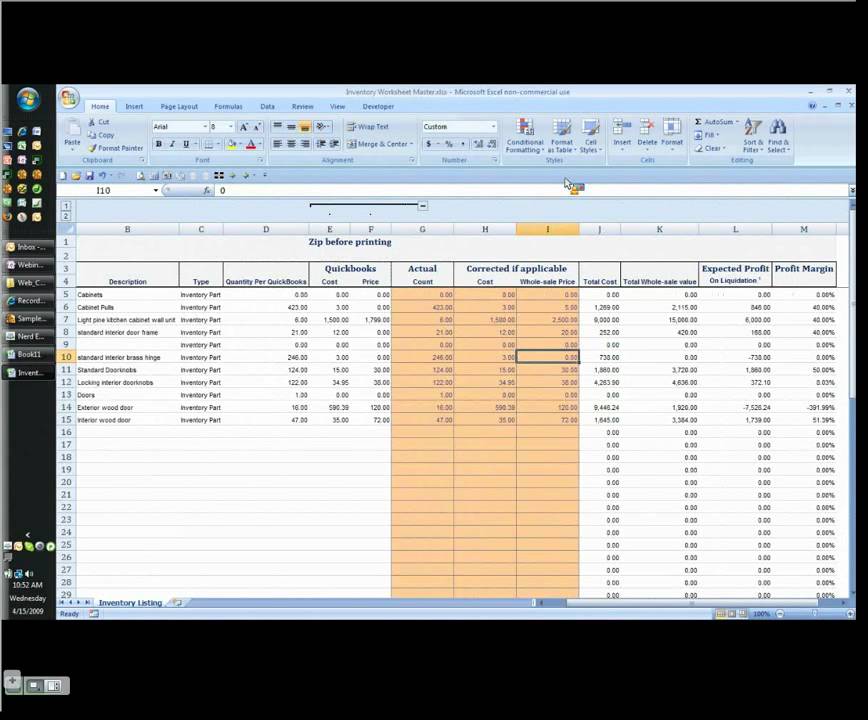
QuickBooks offers numerous advantages for inventory management:
- Accuracy: Minimize human error with automatic calculations and updates.
- Real-Time Data: Access up-to-date information to make immediate business decisions.
- Reporting: Generate detailed reports to analyze inventory performance over time.
- Integration: Seamlessly integrate with sales, accounting, and other business operations.
How to Set Up Inventory in QuickBooks
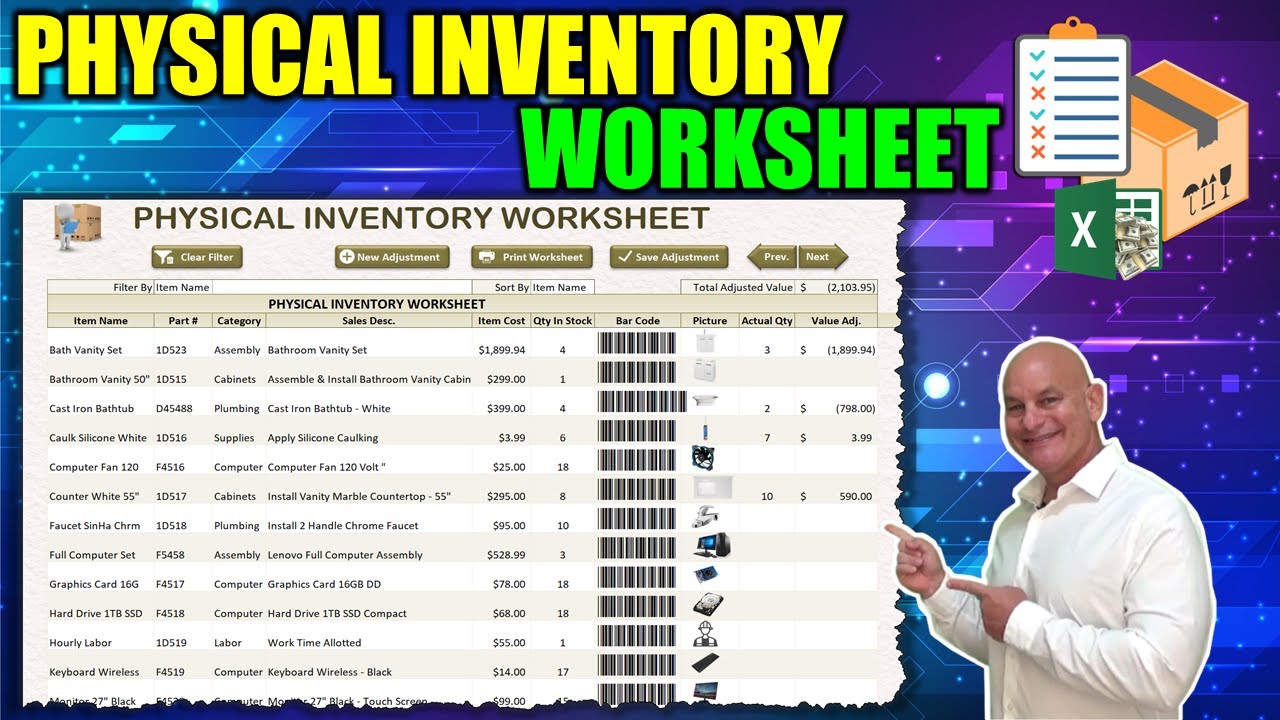
Here’s a step-by-step guide to setting up your inventory in QuickBooks:
1. Enable Inventory Tracking

- Navigate to Edit > Preferences > Items & Inventory in QuickBooks.
- Select Company Preferences and ensure “Inventory and purchase orders are active” is checked.
2. Create Inventory Items

- Go to Lists > Item List.
- Click Item at the bottom left and select New.
- Choose Inventory Part as the item type.
- Fill in the necessary details like Item Name/Number, Description, Cost, Sales Price, and Quantity on Hand.
3. Enter Opening Quantities

If you’re new to QuickBooks, you’ll need to:
- Go to Company > Items & Services.
- Click Start Date and enter the date when your inventory count starts.
- Adjust inventory quantities in QuickBooks to match your physical count.
Conducting a Physical Inventory Count with QuickBooks

Follow these steps for an efficient physical inventory count:
1. Print Inventory Worksheets

Worksheets are your guide during the physical count:
- Go to Reports > Inventory > Inventory Stock Status by Item.
- Print or save this report to use as your worksheet.
2. Perform the Count

During the physical count:
- Use the printed worksheet to note down actual counts.
- Ensure counters are trained to recognize items accurately.
- Count high-value or high-risk items first to minimize discrepancies.
3. Enter Counted Quantities into QuickBooks

Once the count is complete:
- Return to QuickBooks and go to Vendors > Inventory Activities > Adjust Quantity/Value on Hand.
- Adjust the quantities based on your physical count.
- Use the Adjustment Memo field to note reasons for significant discrepancies.
4. Review Discrepancies

Analyzing the variances between recorded and actual counts is essential:
- Run an Inventory Stock Status by Item report after entering counts.
- Investigate and document reasons for discrepancies, such as theft, damage, or accounting errors.
📌 Note: Regular inventory counts help prevent and detect discrepancies early, reducing the impact on your business finances.
Key Features to Utilize
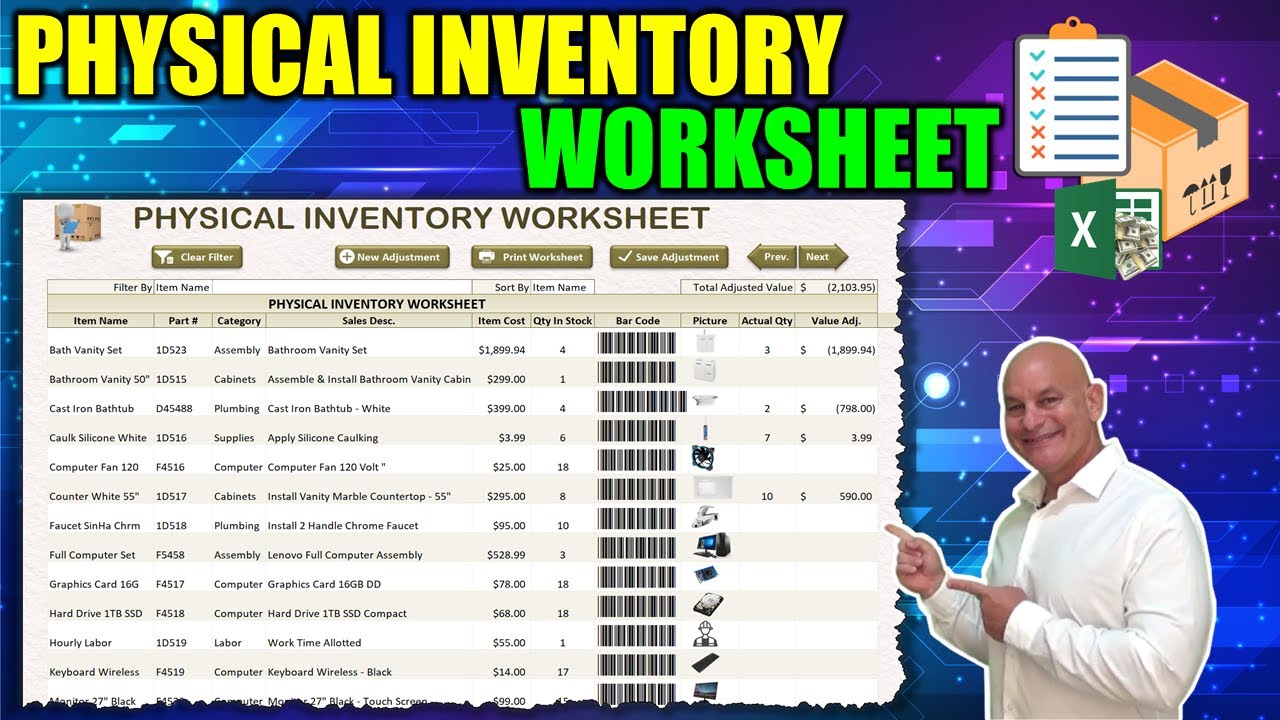
QuickBooks has several features that can make inventory management smoother:
1. Inventory Assembly

Manage and track inventory components used to create final products.
2. FIFO or LIFO Costing
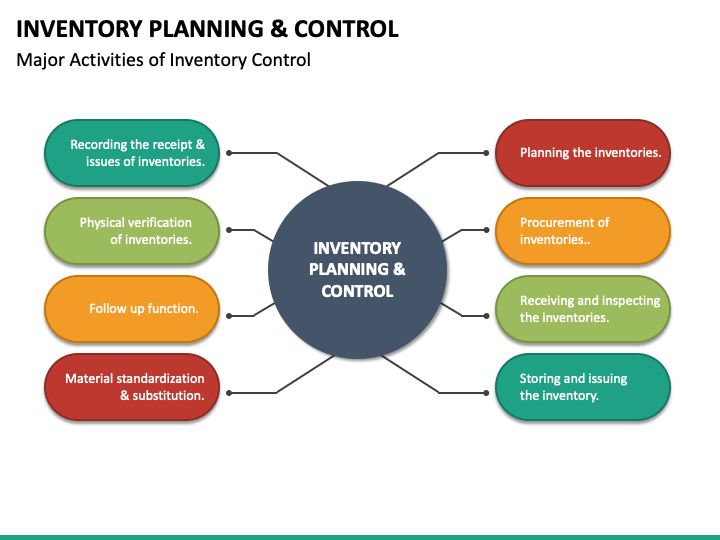
QuickBooks allows you to choose between FIFO (First In, First Out) or LIFO (Last In, First Out) for inventory valuation.
3. Mobile Inventory Management
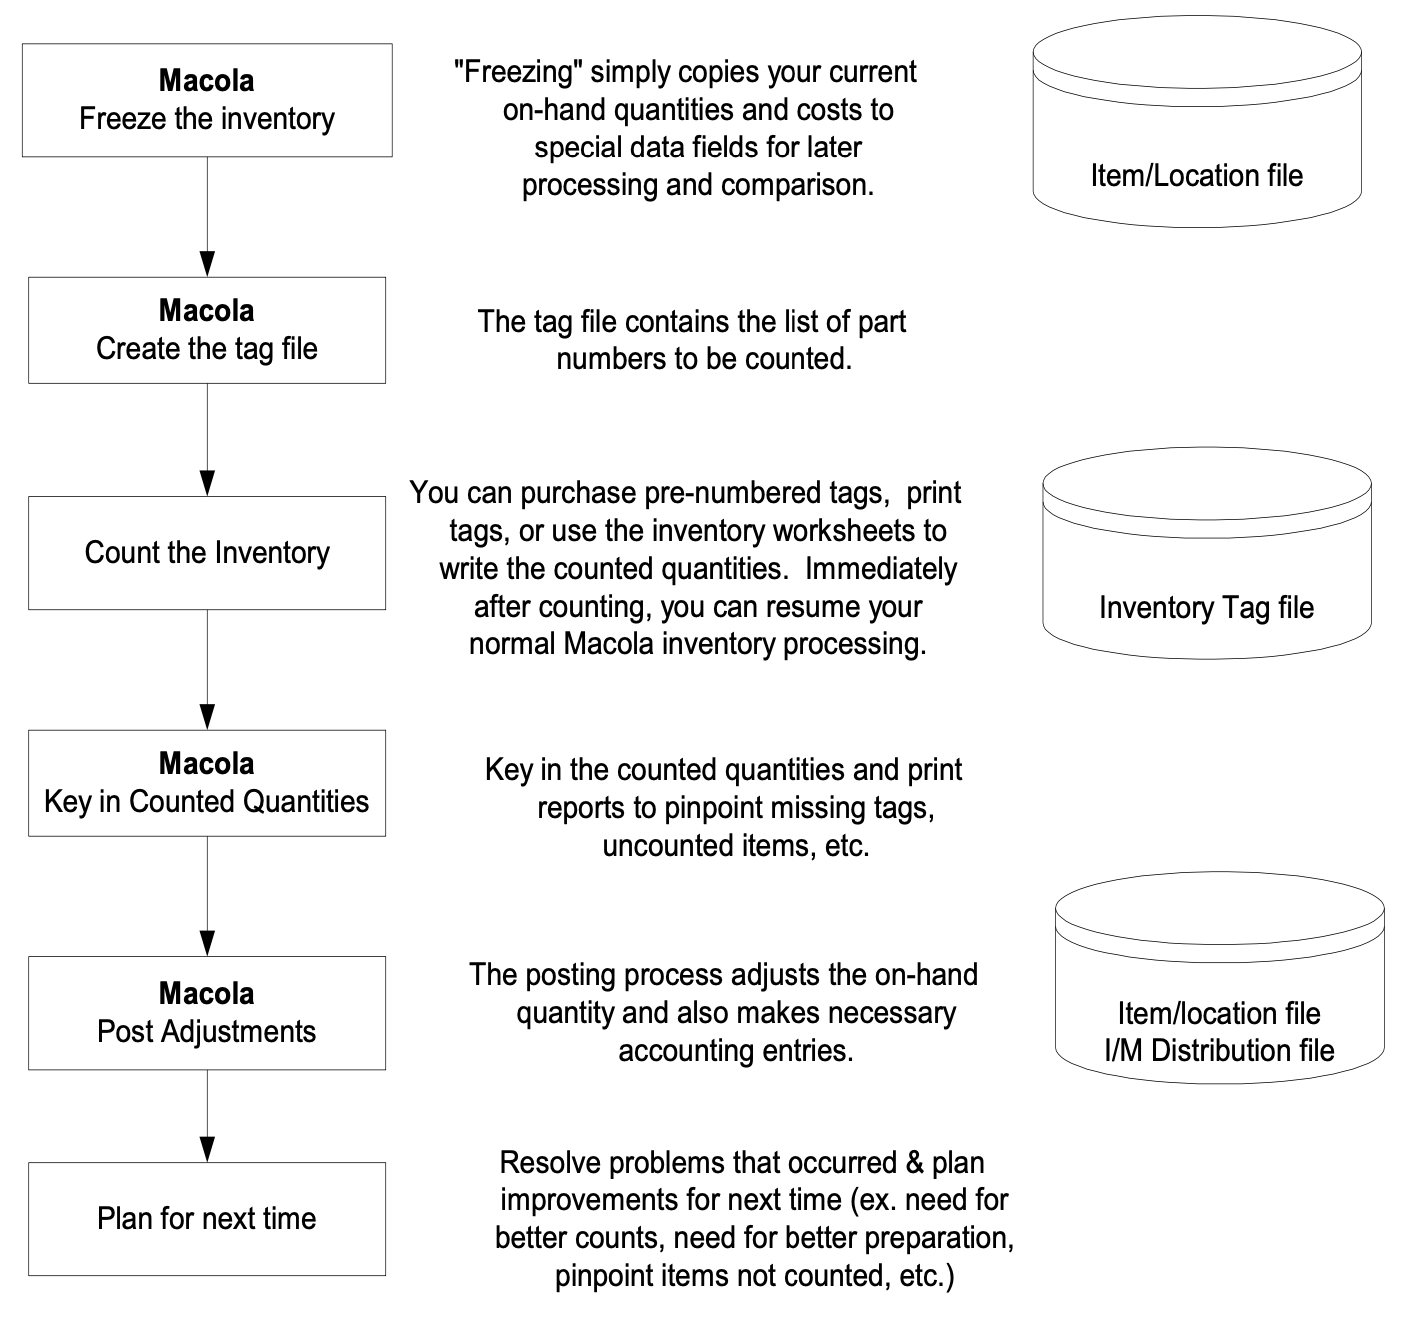
With the QuickBooks mobile app, you can manage your inventory from anywhere.
Common Challenges and Solutions
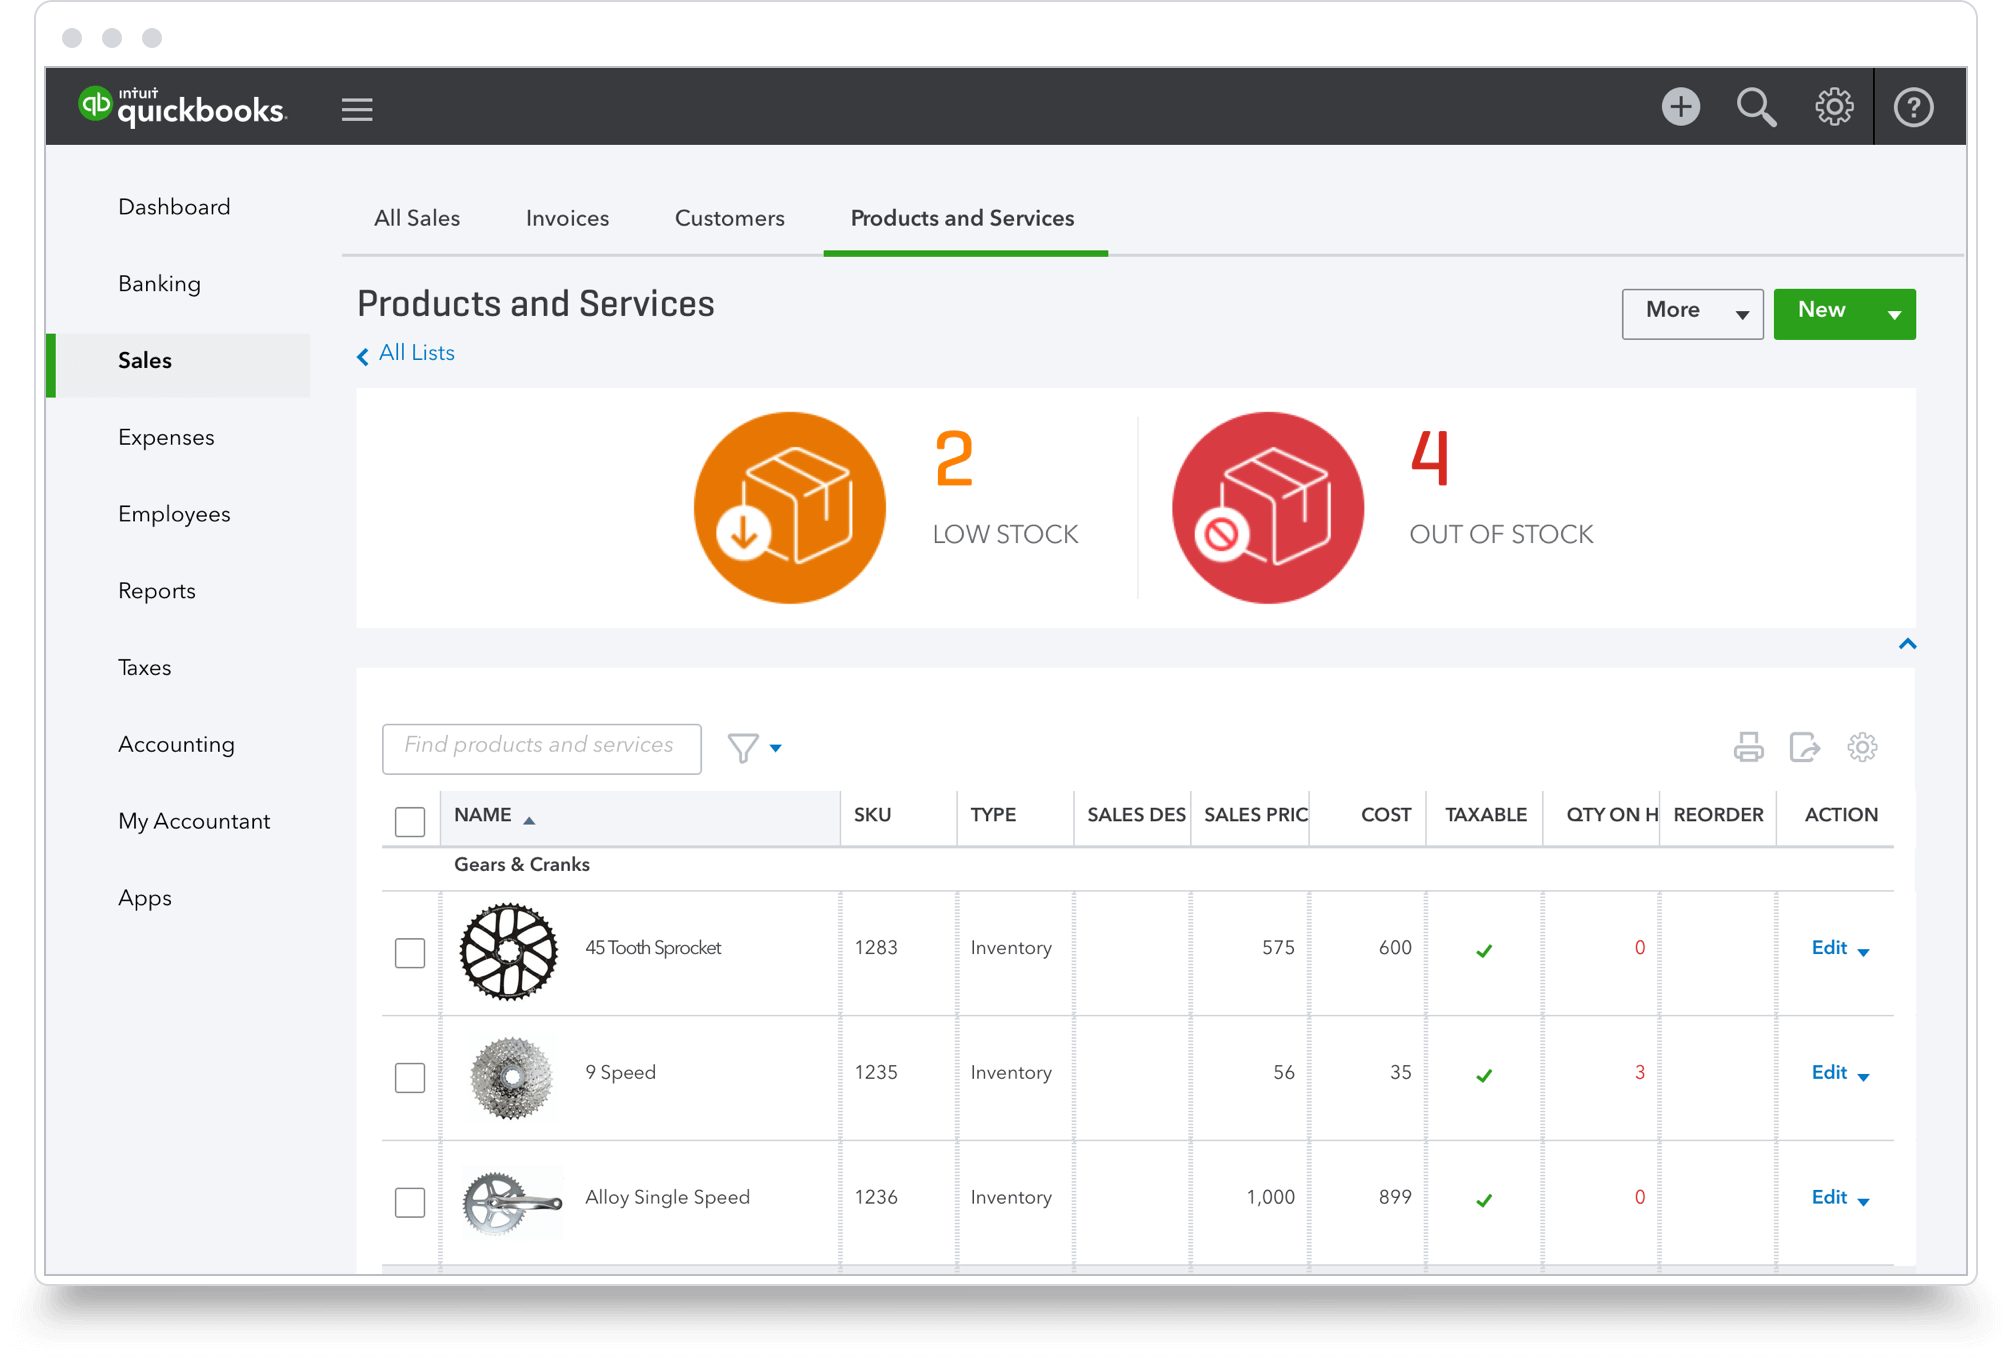
Here are some common challenges in inventory management with QuickBooks:
1. Data Entry Errors
To prevent or mitigate:
- Use scanning hardware to reduce manual data entry.
- Regularly review and adjust inventory entries.
2. Timing of Inventory Counts
Solutions include:
- Perform counts when the business is least busy.
- Consider having a yearly full count and monthly spot checks.
3. Sync Issues
If you’re integrating with other systems:
- Ensure consistent updates between software systems.
- Use third-party apps if necessary to maintain sync integrity.
Summing Up

Mastering physical inventory with QuickBooks worksheets is not just about keeping track of numbers; it’s about understanding your business’s flow, predicting future demands, and maintaining an accurate financial outlook. By integrating QuickBooks into your inventory management routine, you can benefit from:
- Accurate Stock Tracking: QuickBooks provides real-time inventory updates, reducing the likelihood of stock discrepancies.
- Efficiency in Operations: Automate many of the repetitive tasks involved in inventory management, saving time and reducing labor costs.
- Informed Decision Making: With QuickBooks, you can generate detailed reports to analyze inventory trends, helping you make data-driven decisions for your business.
As you've seen, the journey from setting up your inventory in QuickBooks to conducting regular physical counts involves multiple steps, each with its own set of considerations and best practices. Adopting these practices ensures your business remains agile, responsive, and ultimately more profitable.
What is the best time to do an inventory count?
+The best time for an inventory count is typically when the business is least active. This could be after business hours, on holidays, or during less busy seasons to minimize disruptions.
How can I deal with inventory discrepancies in QuickBooks?
+After a physical count, use QuickBooks’ Adjust Quantity/Value on Hand feature to update your inventory to match the physical count. Document the reasons for discrepancies to improve future accuracy.
Can QuickBooks manage multiple inventory locations?
+Yes, QuickBooks Enterprise supports managing inventory across multiple locations or warehouses, allowing you to track stock levels in different places easily.
Is it possible to integrate QuickBooks with other inventory management software?
+Yes, QuickBooks can integrate with various inventory management solutions through its API or third-party integrations, allowing for a more comprehensive system tailored to your business needs.